Sunday, August 12, 2012

Tin Can Mod 2.o (yeah just that quick)

In the words of P-Diddy.. "I thought I told you that we won't stop eh eh!"

Well this YOUNG MOD can't stop doing what I do.. plus I've got to keep this Blog entertaining!

So check it out, I did the last Tin Can Mod and it was pretty cool, in fact I even got a few Pins on Pinterest (AWESOME). But when I looked at it I already knew it wasn't at the level that I wanted it to be in so I called it the Tin Can Mod 1.0 knowing full well there will be so many versions of this over time that I've got to be forward thinking.

Well I'm getting closer to the end of my QPDoll Craft Work Space and I'll be starting work on my Daughters room. So i figured it would be a good chance to throw up Vers. 2.0 real fast. So check it out and let's see what I came up with.

This is a can I had already stripped and painted white. 

My daughter wants her room to have a black and white theme with  different  patterns and such so I picked these two patterns for the cans. 

Measuring the amount of cloth I'll need to wrap the cans.

I'm endorsing NO products however the one pictured above worked well.

I'm not too good at wrapping cans but it's getting done.

Finished wrapping it.. looks nice tho.

Both wrapped and ready to be mounted on a board.

Mounted on a piece of scrap wood. Looks OK.. I can't hang it on the wall because my daughter hasn't cleaned up her room enough for me to even know where to hang it. LOL

Saturday, August 11, 2012

Tin Can Mod 1.0

So while trying to organize the QPDoll Craft Work Space, I struggled with pencils and more pencils. These things were under foot, in every box, on the shelves, and every where else you could think to look.

Incredibly, QPDoll can't draw! LOL

But such is the way of things for creative people, the must always have the tools to be creative with.. even if they never use them.

SO here's the mission:

Create a crafty alternative to a Pencil and Paintbrush holder for free.

Here's what this YOUNG MOD came up with.

Here are some coffee cans that my son found for me after a long adventure. I used the Citrus Stripper to  start removing the paint from the cans. Though now looking at them. I wonder if it would have been cooler to leave the original artwork on them.

Well on second thought.. now looking at them freshly dipped and sparkling in the sun.. they look fly.. but I know they are still a little rough around the edges.

Now this is after that first coat of white spray paint. Now u can really see the detailing in the cans. How some have wider ridges. Nice detail.

Checking my scrap wood pile for something to mount the cans too.

Here's my awesome daughter staining the wood..  those socks i find visually disturbing. LOL
 
Drilling holes in the back to add screws.

Screw on a nut and washer. 

Here's the finished product. Ready to hang.

Mounted to the wall and filled with Pencils and Paintbrushes. Looks pretty cool. I think.. I should have wrapped on or both in some sort of fabric. It would have added more character .. but it's cool with the over all decor.

This is me using my skills as an amateur photographer to make it look sexy.

Here's how it fits in to the larger design.. works nice. QPDoll said she likey!!


Thursday, August 9, 2012

The Magnetic Board Mod


Magnetic Board Mod


This is how a YOUNG MOD takes on a Magnetic Board. I think the whole magnetic board thing is cool. While I'm doing this space for QP Doll she brought home a magnetic board from Micheal's which cost about $12.00. It was metal with a white background. 
I thought the board itself was Magnetic.. SURPRISE nope! It's just a friggin' piece of metal. Plus the magnets in the containers only stuck to the metal side not the white side. So it looks ugly to me. 

It just so happened that the space she NEEDS for the magnetic board is too small for the actual board... 

Duh duh duuuuuuuh!! Time to get crafty!

She happened to have a few metal squares lying around.. I mean literally lying around! SO after a few Pinterest inspirations I went to WORK!

Here are the metal squares about 8" x 12"

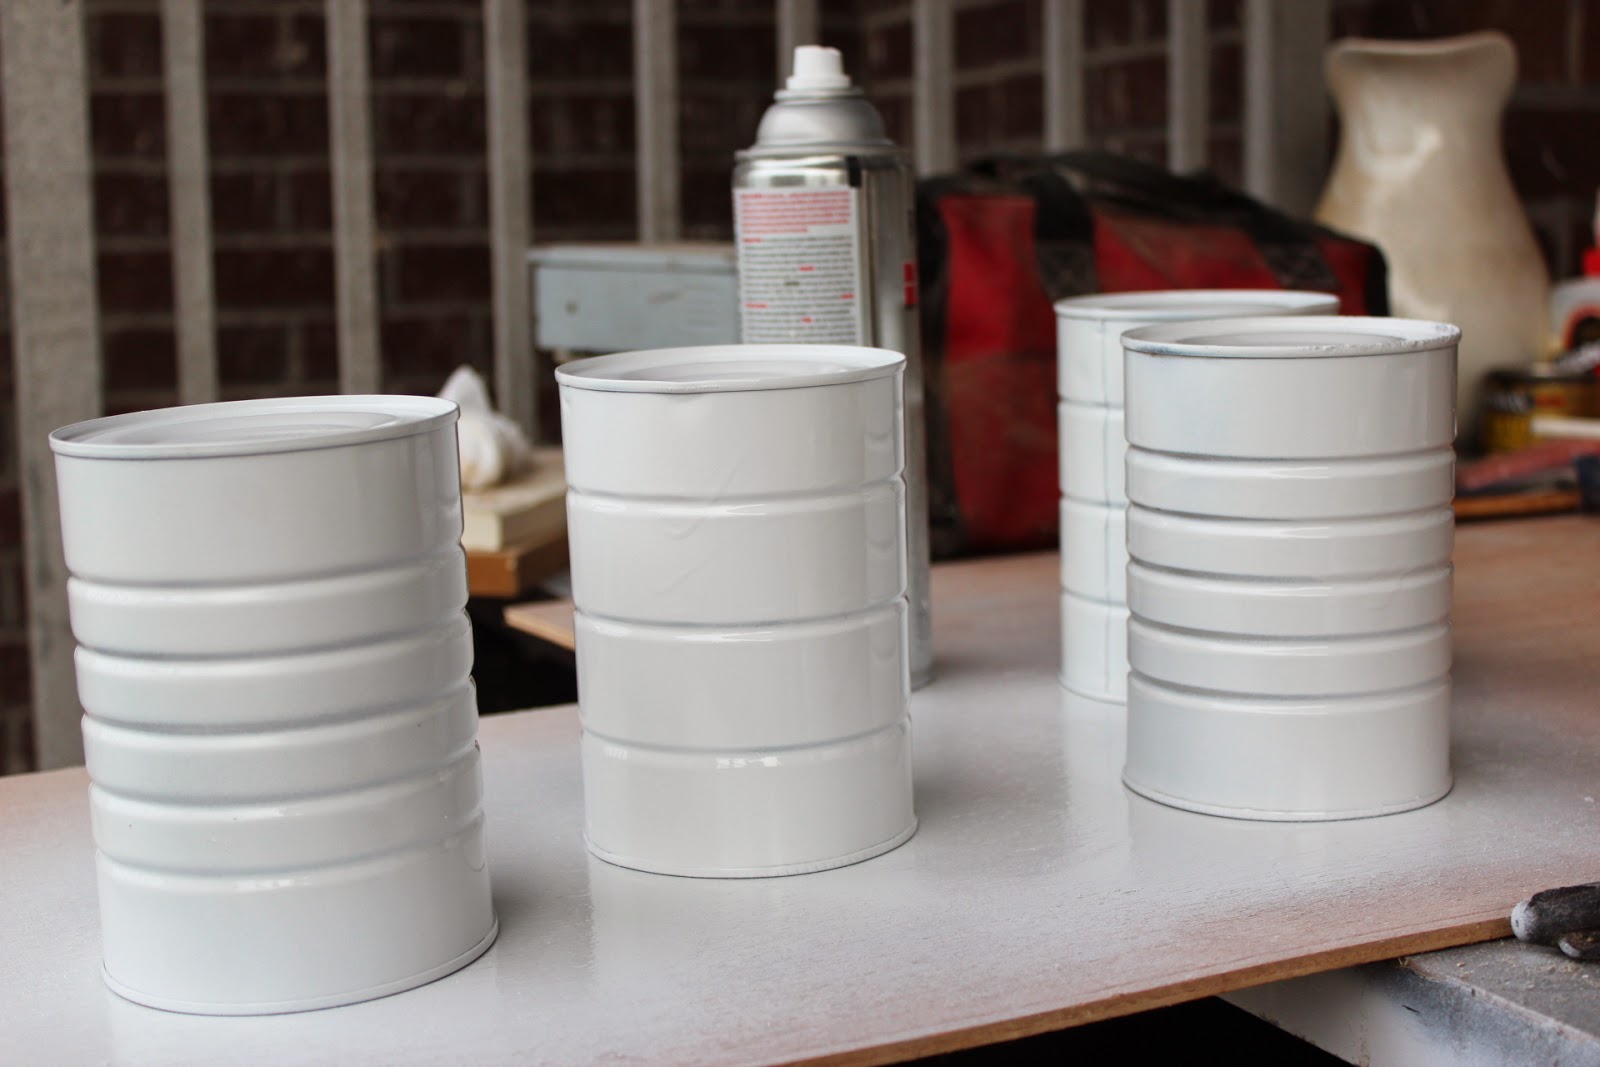
So my first set I spray painted White so as to go with the existing design. But the problem is EVERYTHING I've been  doing is WHITE and I need to get some color in here.

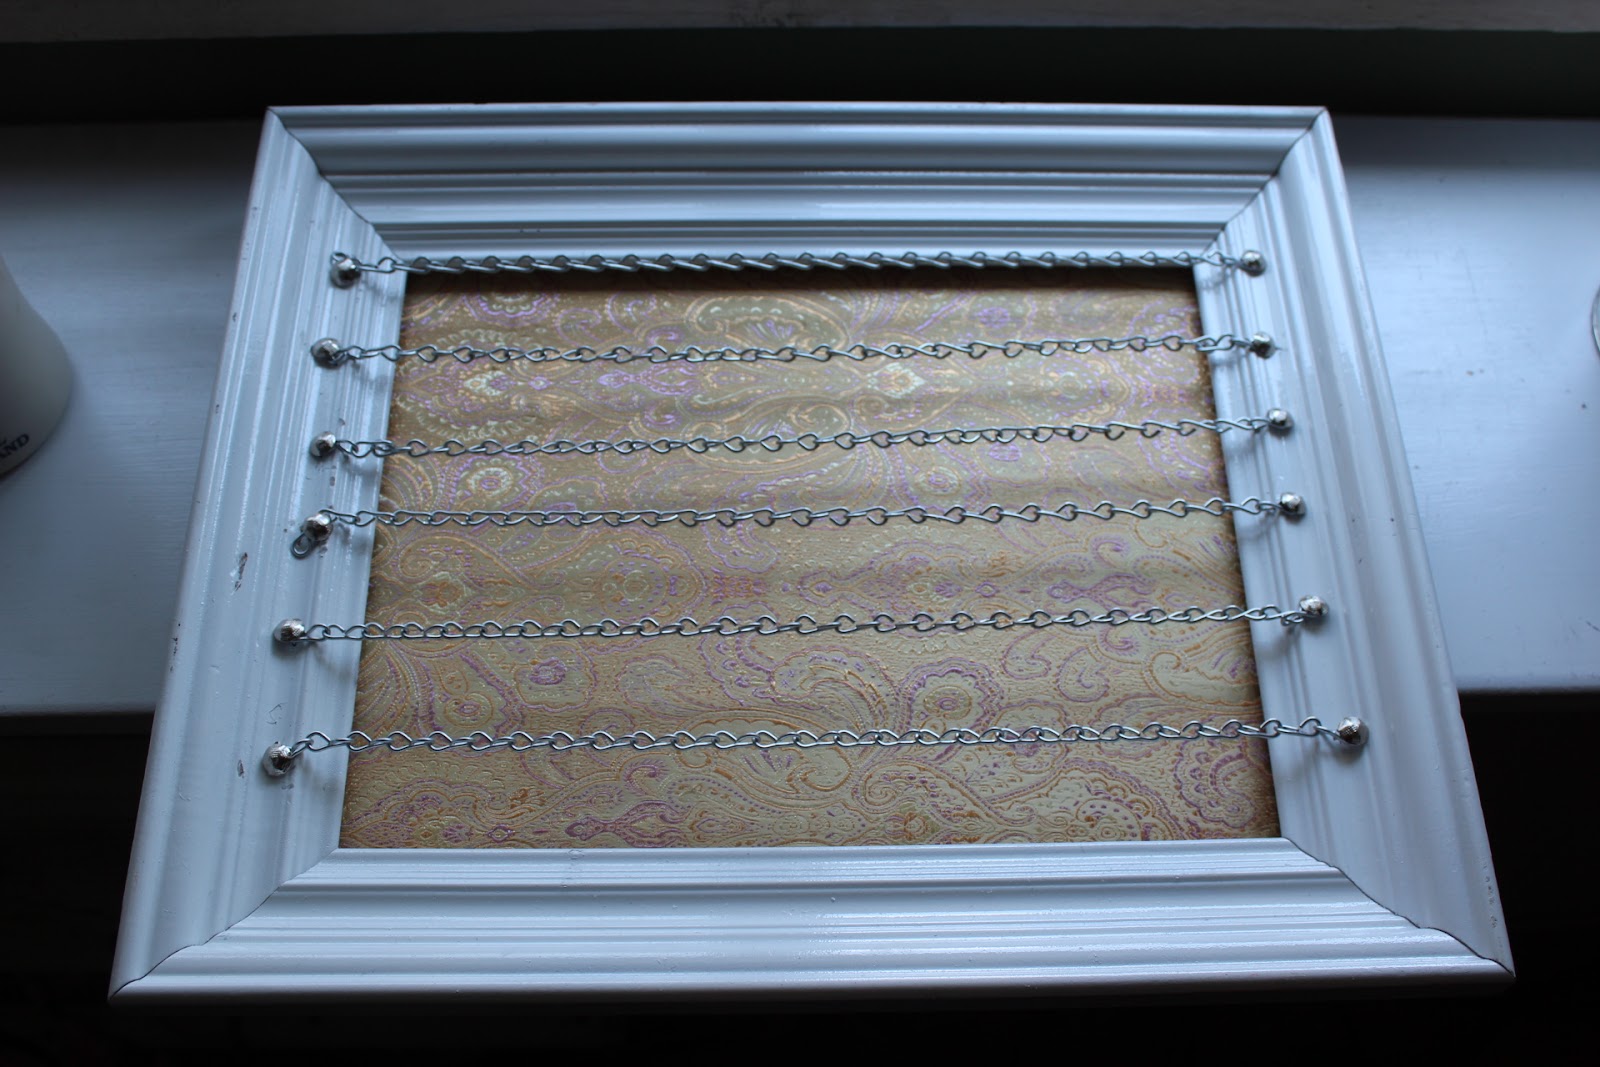
After realizing i need COLOR in this design I decided I'd grab some pieces of fabric from QP's sewing draw (that I just finished organizing.. lol ) and wrap the panels with it using fabric spray..
yes I over sprayed the pink one.. 

Here they are side to side.. it's going to be a nice contrast.


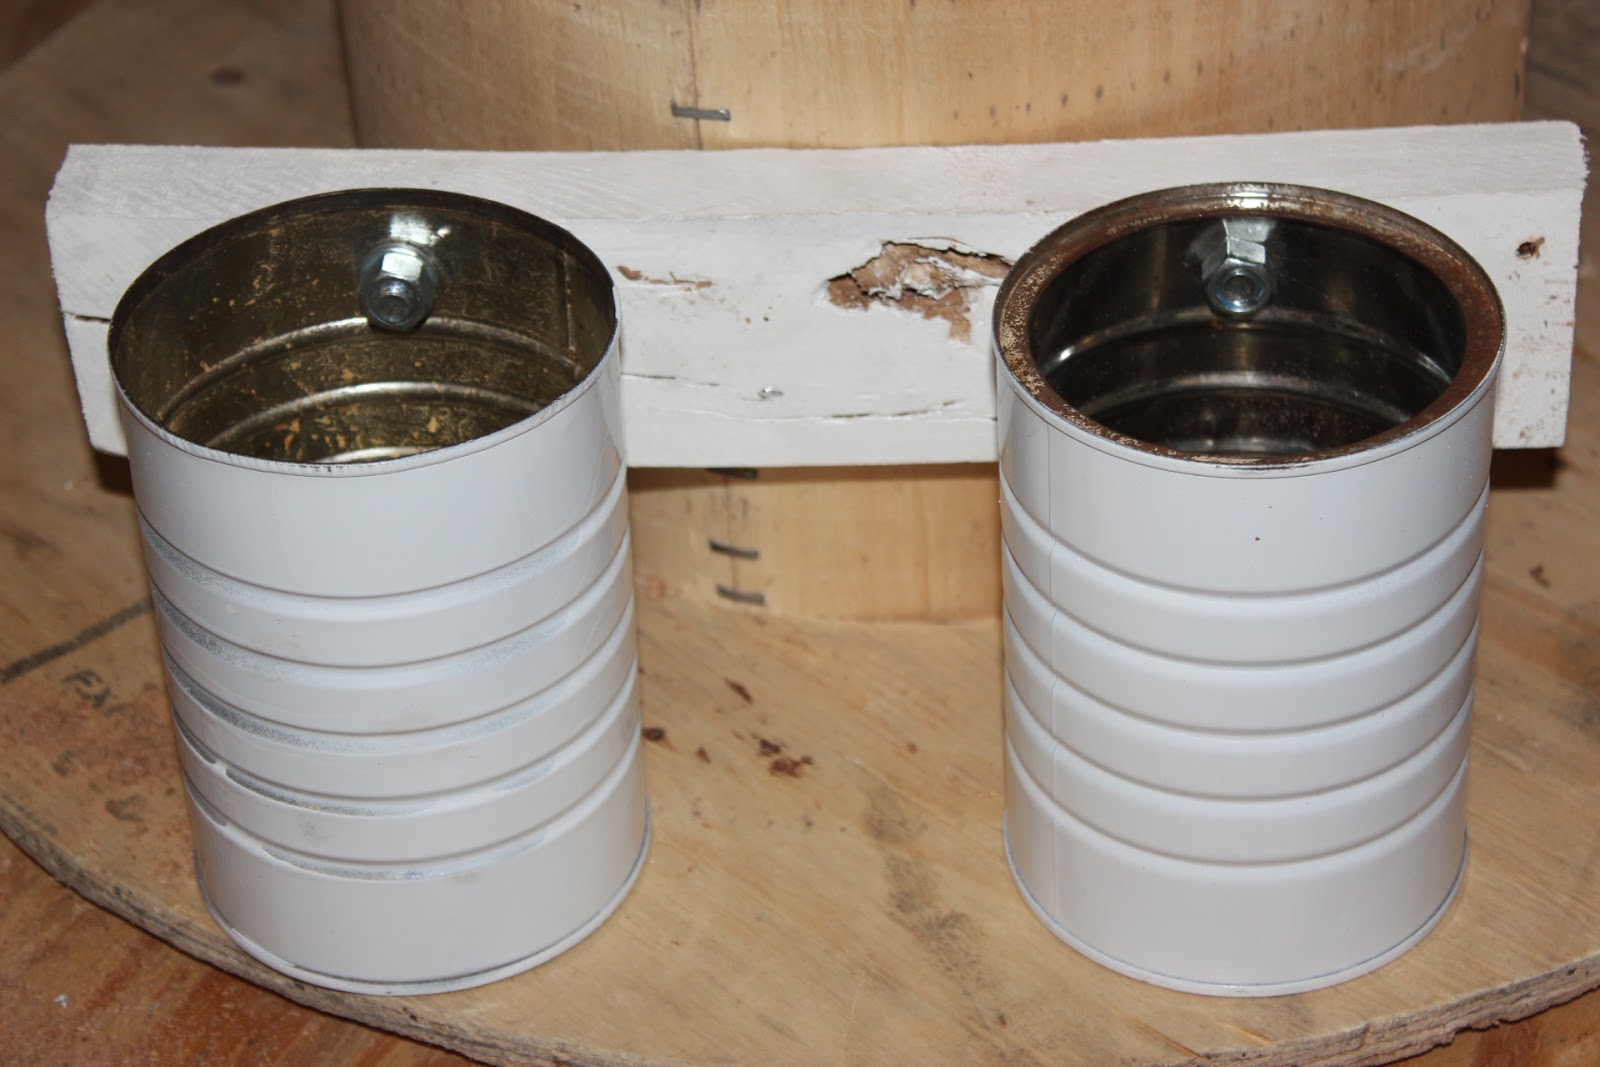
4 holes in each panel using a drill with a METAL bit. I broke a bit about 5 min before this picture was taken!

Used two pieces of scrap wood. (which turned out to be a mistake cause it was warped )
Screwed the panels onto the wood You can see a lip of the wood which I'm unhappy about. I'll fix it later. 
This is it with the magnetic cans.. looks Kool right. 
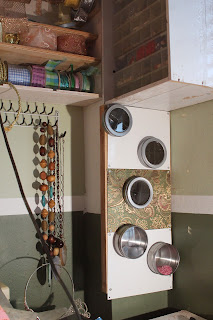
Another shot from a distance.. it's cute right?
Oh yeah .. follow me on Pinterest.. I LOVVVVVVVVVVVVVVVVVVVE Pinterest 

Another take on the Frame style Jewelry Display

Another take on the Frame style Jewelry Display


So I was perusing through Pinterest and while working on QP Doll's Craft Space I've been specifically looking for and at things that are Jewelry and Craft work space oriented.

I noticed a few awesome styles at this blog HERE  and decided I'd do something similar to this .


So check out what I came up with.. here are some pictures.


Nice and solid old wood frame. Took out the back and
cleaned it off so it'd be nice and clean and ready for paint.

Spray painted white to match the rest of the space.
I thought this was just beautiful fabric. So I cut a piece of
1/8th inch plywood to fit the back of the fram and wrapped in this
fabric using spray adhesive. 


Here's what it looked like with the frame. PROJECT COMPLETE!
Naah really tho it would have been nice right there. BUT..

QP Doll was supposed to bring me a sheet of chicken wire ...
obviously NO Chicken wire was brought SOO.. I used some
spare chain and Upholstery Tacks .. looks nice right?

After added wall catches I hung it up.. not bad.

See how it fits in between the brackets of the Shelf.
And here it is with her assortment of hand crafted earrings!! Not bad at all.
Total cost. $3.00 for the Upholstery tacks. I didn't use enough paint to
warrant adding in that cost. BUT the paint was about $6.00 at Home Depot.
All done!


Welcome to my world!

I'm not really that good with talking about myself in the Biographical sense.. but here's the short version. 
I'm a rap artist from the early 90's (the UMC's) and went by the name of "Kool Kim".  After that ended I moved to Maryland and brought a HUD Home ( a real fixer upper). I learned how to do just about ALL the different trades because I couldn't afford to pay people to do the sort of work I wanted to do.

I moved back to NYC in the beginning of 2006 and reinvented myself as a rapper named "NYOIL" ...... blah blah Activist.. blah blah.. no room to build stuff in Apartment... blah blah needed to express creativity .. yadda yadda.. discovered Pinterest..etc etc.. started crafting.. and now we're here.. LOL

I'm sure I'll tell you guys WAAAAAAAAAAY more about me over time.. (if you're my FB friend you already know.. lol) but for now I just want to get into my crafts.. 

If you happen to be a fan of my Musical Career, or follow my exploits as a Social Commentator, or support my efforts as a Youth Advocate, please note that this page WON'T be about those things. I'm not abandoning who I am.. I'm just sharing other parts of me that bring me joy and make me happy. 

Plus I think I'm pretty good at this stuff and I'd like to share some of my ideas with some of the folks out there doing the same sorts of thing!!!

SOOOOOOO

welcome to my world.